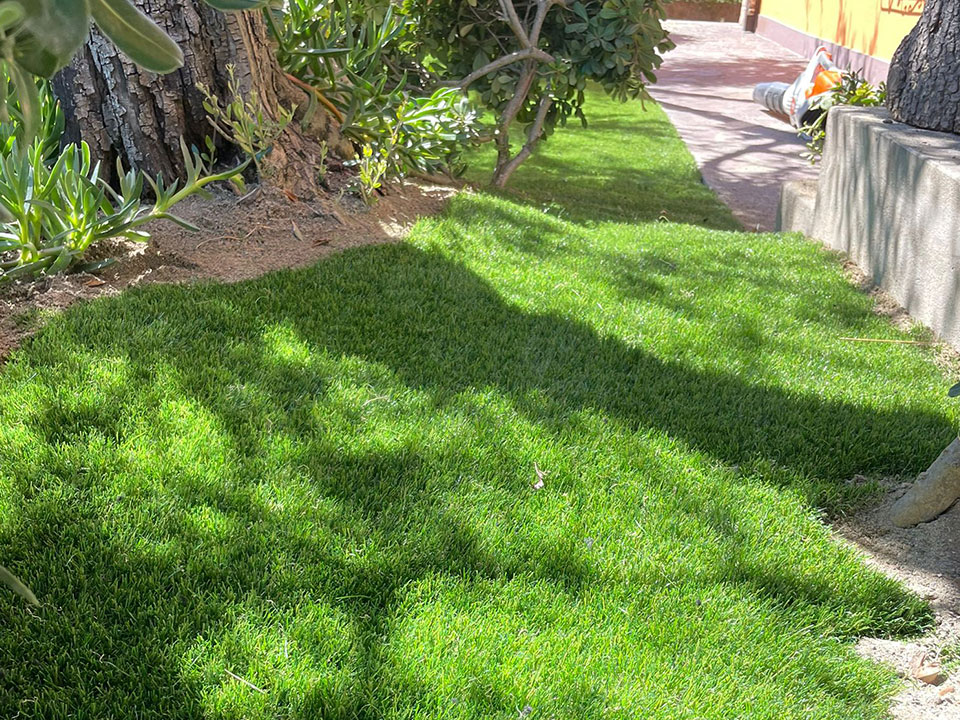
Miniature golf is a beloved pastime that brings joy to people of all ages. Imagine the fun of having your very own putting green right in your backyard! With some synthetic turf, a few tools, and a bit of creativity, you can transform your yard into the ultimate mini golf course. Here’s how you can do it.

Why Build Your Own Putting Green with Artificial Grass?
Building a backyard putting green offers numerous benefits:
Family Fun: Creating a mini golf course is a fantastic activity to engage your kids. They’ll love the excitement of having their own course and will cherish the time spent building it together.
Cost-Effective: Visiting a mini golf course can be expensive, especially during school holidays. Having a backyard course provides endless entertainment without the recurring costs.
Skill Development: A home putting green helps kids develop essential skills like hand-eye coordination, teamwork, and patience. Plus, it encourages them to spend more time outdoors.
Customizable Fun: Tailor the course to your preferences, incorporating favorite themes or challenges that make the game even more enjoyable.
Creating a Temporary Course
For those who want a flexible option, a temporary mini golf course is perfect. It’s easy to set up both indoors and outdoors, making it adaptable to weather conditions.
Materials Needed:
- Cups or empty containers (for holes)
- Books (for ramps)
- Painter’s tape (to mark the course)
- Various objects (as obstacles)
- Putters and golf balls
Instructions:
- Design the Course: Use painter’s tape to outline the course on your lawn or driveway. Create pathways and mark where the holes will be.
- Set Up Holes: Place cups or containers at each hole location. Ensure they’re stable and won’t tip over.
- Add Obstacles: Use books, cans, or household items to create tunnels, ramps, and barriers. Let your creativity run wild!
- Play: Grab your putters and balls, and enjoy your custom-made mini golf course.
Building a Permanent Putting Green
For a more lasting option, consider building a permanent putting green. This allows for a more polished look and feel, providing a professional-quality playing surface.
Materials Needed:
- Wood (for the base and sides)
- Putters and golf balls
- Artificial grass (choose a short pile for easier putting)
- Drill and drill bit (to create holes)
- Wood glue and screws (to assemble the structure)
Instructions:
- Plan the Design: Sketch out your course design, deciding on the number and layout of holes. Consider incorporating existing features of your yard.
- Build the Base: Cut wood to size for the base and sides of each hole. Assemble the structure using wood glue and screws. Ensure it’s sturdy and level.
- Install Artificial Grass: Lay the artificial grass over the wooden base. Secure it with glue or nails, ensuring it’s smooth and free of wrinkles.
- Create the Holes: Use a drill and bit to cut holes in the grass and base. Ensure the holes are the right size for the golf balls.
- Add Obstacles: Incorporate fun obstacles and features into your course. This could include ramps, tunnels, or themed decorations.
- Finishing Touches: Check that everything is secure and safe for play. Adjust any elements as needed to ensure a smooth playing experience.
Building your own putting green with artificial grass is a rewarding project that provides endless fun and entertainment. Whether you opt for a temporary setup or a permanent course, you’ll create lasting memories with your family. Plus, your backyard will become the go-to spot for mini golf enthusiasts of all ages. So grab your tools and get started on your dream putting green today!
